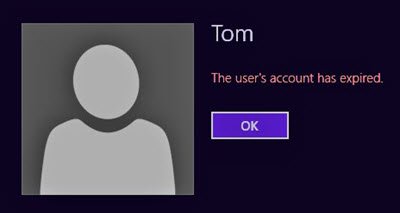
The users account has expired on Windows 11/10
You can get rid of this situation using the Net User command. The command is built to set an expiration date for a user account, or completely turn off user account expiration.
1] Turn off User Account Expiration using PowerShell
1] Open PowerShell using WIN+X and then select Windows PowerShell (Admin). 2] The first thing you need is the exact username of the account for which the expiration has to be set. To get the users on Windows 10 computer, type and execute the command—net user. Copy the name. 3] Next, in the same PowerShell prompt, execute the command: Make sure to replace USERNAME with the correct username.
2] Turn Off User Account Expiration in Active Directory
If you need to have a temporary account but do not want it to expire automatically, it is best to set the option right away. It can be done using the Administrative tool available for the admin account in Windows.
1] In the Start search, type Administrative Tools, and when it appears, open with administrator privileges. 2] Select Active Directory Users and Computers and open it. 3] On the left side, expand your domain, and select the node which says, Users. 4] Select the domain user account for which you want to change expiration settings. Right-click and select properties. 4] Switch to the Account tab, and check the option which says set Account Expires to Never. 5] You can also choose to set the password as never expires in the same section. In consumer copies of Windows, i.e., Windows 11/10 Pro and Home, there is no concept of a temporary account. Instead, you can use Guest Account to give temporary access.
