Smart objects in Photoshop are sometimes described as containers. Smart objects are layers that contain image data. This means that the Smart object will contain the original data of the image and the information will remain in the layer as long as the layer remains a smart object. Note that not only images can be smart objects. Text, images, adjustment layers, and shapes can all be Smart objects. This article will go into more detail on Smart objects in Photoshop.
What are Smart Objects in Photoshop
Smart objects are layers or containers that will hold and preserve the original attributes of anything placed in it. that means that when an object or layer is converted to a Smart object it essentially becomes like a container or index that holds the information for the object that is on it. A Smart object preserves an object’s source data and its attributes so that the object can be edited without destroying any of its source information. For example, an image that is a Smart object can be resized many times without losing its original quality because the image’s original attributes are saved. Images, shapes, texts, and adjustment layers can be converted to Smart objects.
Types of Smart Objects in Photoshop
There are two types of smart objects, Embedded and Linked. When you place an image into Photoshop and convert it to a Smart object that is an Embedded smart object. This type of Smart object doesn’t change its original data or contents when edited in Photoshop. Linked Smart objects are Smart objects that can have the source files in other Photoshop documents. The Smart object’s information will change if the source object is changed. The source object is usually saved where all the documents can access it.
Why use Smart Objects in Photoshop
You can scale, rotate, skew, distort, perspective transform, or warp a layer without losing original image data or quality because the transforms don’t affect the original data.Work with items from Illustrator that has vector data, that otherwise would be rasterized in Photoshop.You can edit filters applied to Smart Objects at any time.Edit one Smart Object and automatically update all its linked instances.Apply a layer mask that’s either linked or unlinked to the Smart Object layer.Try various designs with low-resolution placeholder images that you later replace with final versions. The change can be easily done.
Drawbacks of using Smart Objects in Photoshop
Smart objects are great to use but there are some drawbacks. These are not necessarily deal breakers, but you should consider them and find ways to work around them. When using Smart objects you can’t perform operations that alter pixel data; such as painting, dodging, burning, or cloning. You would have to first convert it to a regular layer, which will be rasterized.
How to address the drawbacks of Smart Objects
To perform operations that alter pixel data, you can edit the contents of a Smart Object, clone a new layer above the Smart Object layer, edit duplicates of the Smart Object, or create a new layer.
How to create a Smart Objects in Photoshop
Regular layers can be converted to smart objects, below you will see how to create both Embedded and Linked smart objects.
Creating an Embedded Smart object
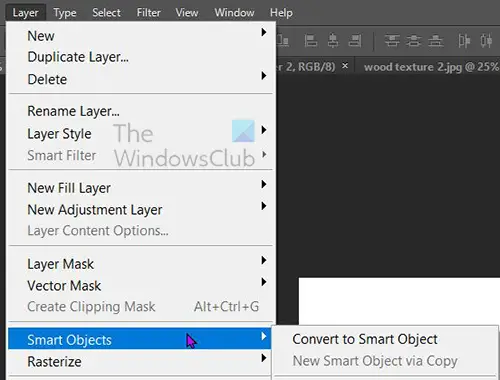
An Embedded smart object can be created by selecting the layer in the layers panel then going to the top menu bar and clicking Layers then Smart object then Convert to Smart object. You can also convert a layer to a smart object by right-clicking on the layer in the layers panel and choosing Convert to Smart object. In some versions of Photoshop newer than CS5, whenever an image is dragged into Photoshop onto a canvas it is automatically made into a Smart object. You may also create a Smart object when a Photoshop document is opened and you go to File then Place, choose the file from the Place window then press Place to add it to the document.
Creating a linked Smart object
In Photoshop, you can create Linked Smart Objects. The contents of Linked Smart Objects are updated when the source image file changes. Linked Smart Objects are particularly useful for teams or in cases where assets must be reused across designs. Follow these steps to create a Linked Smart Object:
Choose File > Place Linked.Select an appropriate file and click Place.The Linked Smart Object is created and is displayed in the Layers panel with a link icon (chain).
You can also create a Linked Smart Object in an open document by dragging and dropping the appropriate file while holding the Alt key
How to identify Smart Objects in Photoshop
Smart objects can be easily identified in the layers panel because they have an icon at the lower right corner of the thumbnail in the layers panel. It can also be identified when you try to make edits and the error message pops up.
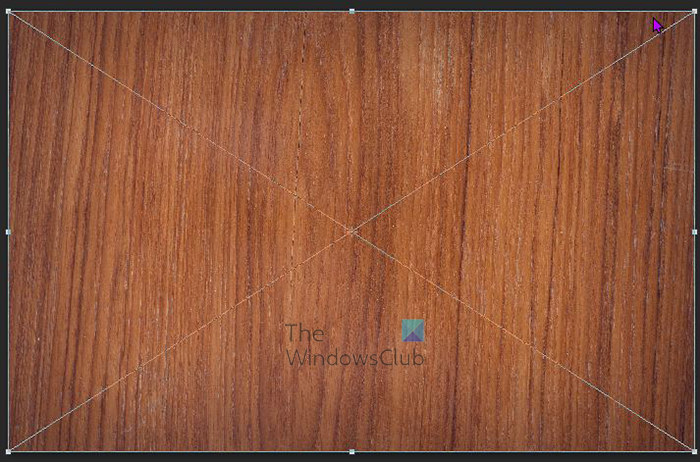
Smart Objects also have transform box with a X in the middle instead of the regular square transform box when you press Ctrl + T to resize or transform it.
How to convert an Embedded Smart Object into a Linked Smart Object
You can convert an embedded Smart Object to a Linked Smart Object in Photoshop. Transforms, filters, and other effects applied to the embedded Smart Object are preserved when it is converted. To convert from Embedded to link smart object do the following:
Select an embedded Smart Object layer in the Photoshop document.Choose Layer then Smart Object then Convert To Linked.Select the location on your computer where you want to save the source file.Enter a name for the file, including a supported extension. For example,twc_link.jpg.
Duplicating an Embedded Smart Objects in Photoshop
In the Layers panel, select a Smart Object layer, and do one of the following:
To create a duplicate Smart Object that is linked to the original, choose Layer then New then Layer Via Copy, or drag the Smart Object layer to the Create A New Layer icon at the bottom of the Layers panel. You may also right click on the smart object layer and choose Duplicate layer, a window will appear for you to name the duplicate. Edits you make to the original affect the copy and vice versa.To create a duplicate Smart Object that isn’t linked to the original, choose Layer > Smart Objects > New Smart Object Via Copy. Edits you make to the original don’t affect the copy.
A new Smart Object appears in the Layers panel with the same name as the original and “copy” added to the name.
How to edit a Smart Objects in Photoshop
When you edit a Smart Object, the source content is opened in either Photoshop (if the content is raster data or a camera raw file) or the application that handles the placed format by default (for example, Adobe Illustrator or Adobe Acrobat). When you save changes to the source content, the edits appear in all linked instances of the Smart Object in the Photoshop document. Select the Smart Object from the Layers panel, and do one of the following: Choose Layer then Smart Objects then Edit Contents. Or Double-click the Smart Objects thumbnail in the Layers panel. Or In the Properties panel, click Edit Contents. Or Right-click on the Smart object layer and choose Edit content. A dialogue box will appear with the information. Click OK to close the dialog box. Make edits to the source content file, then choose File then Save or press Ctrl + S to save. Photoshop updates the Smart Object to reflect the changes you made. This method can be used to edit text and also images. In the case of images, you would replace the image with another one, or make edits to the existing image. when you save, the image will be updated in the original document and all linked instances.
Rasterizing an Embedded or Linked Smart object
You can rasterize an embedded or linked smart object if you no longer need it to funscion as a smart object. Filters transforms and warps that were applied to the smart object will no longer be editable. To rasterize the smart object right click on it in the layers panel and choose Rasterize layer.
How to export the content of an Embedded Smart Objects in Photoshop
Photoshop allows you to save the content of an Embedded smart object to a location on your computer or other device. To export the content go to the layers panel then go to the top menu bar and press Layer then Smart object then Export contents. You may also go to the layers panel and right click on the Smart object and choose Export contents. The window will appear for you to choose the location where you want to save the contents. If the smart object is made up of layers you will see the file format as PSB.
How to reset Smart Object transforms
If you’ve transformed a Smart Object, you can reset all transformations you’ve previously applied by doing one of the following:
Right-click the Smart Object layer and choose Reset Transform orChoose Layer then Smart Objects then Reset Transform
Read: How to create a Watercolor Splash in Photoshop
What are layers in Photoshop?
Layers are like transparent sheets that hold objects in Photoshop. These transparent papers are stacked on each other and will allow or block things on other layers below from showing.
How many types of layers are there in Photoshop?
There are two types of layers in Photoshop there are Content layers and Adjustment layers. Content layers hold things like images, shapes, and texts. Adjustment layers allow adjustments or changes to be made to the objects on layers below them. Adjustment layers hold the changes and the layers with the objects below are somewhat protected from editing.
![]()