Speak feature with Multilingual TTS in Office
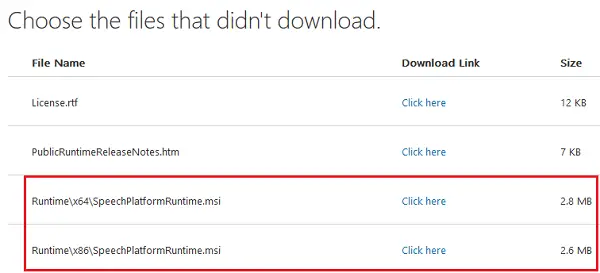
Speak enables text-to-speech matching in terms of the language used in the text. You can also check out the installed text-to-speech engines when you go to Control Panel. Text-to-speech playback is also available for Excel through Speak Cells. To start with, please download the speech platform from Microsoft. Choose the 32-bit or 64-bit version as per your requirements. The English language pack can be downloaded from here.
How to add Speak feature to Quick Access Toolbar
How to add Speak to the Ribbon
Launch Word, click on File, and then open Backstage View.Go to Options and then select Customize Ribbon.Under the Choose Commands drop-down menu, select Commands Not In the Ribbon.Create a new or custom tab by clicking on options New Group or New Tab. Hit on Rename to create a new name for a group.In the scroll box, select Speak, and then click on Add to add it to your custom group or tab.Click OK, and then the Speak feature will automatically appear on the Ribbon.
Speak is now ready and running for text-to-speech playback. It functions automatically when your selected text or the cursor is in any word on the document. Click on Speak to begin and then hit the button during the speech in order to cancel playback. You can also use Speak and bind this to a Hotkey for easy access and functionality. Word supports all keyboard shortcuts for commands of your choice. This enables the usage of Speak without adding it manually to the Quick Access Toolbar or Ribbon. To do this, just do the following:
Go to the Customize Ribbon menu and then select Customize.Choose All Commands category.Bind or link SpeakStopSpeaking command to any hotkey.
That’s it! I hope this helps.