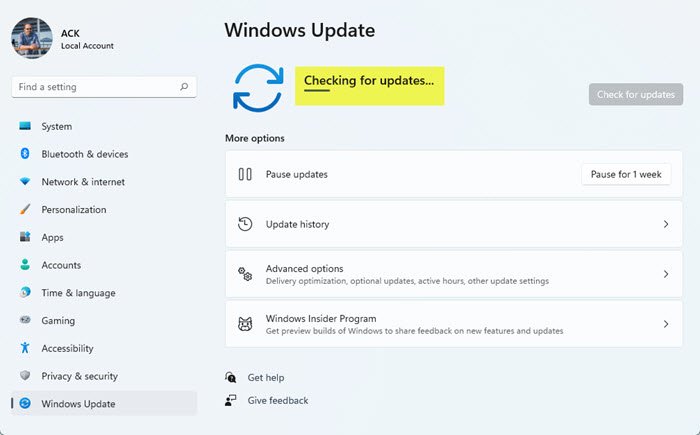
Windows 11/10 Update stuck on Checking for updates
The scenario where it keeps checking for an update with no response is very confusing. You don’t know if the update is about to start downloading or if it’s your internet connection that is causing the problem. To resolve this, follow these steps:
1] Exit Settings & restart your PC
Close the Settings window and restart your computer. Having done that, read on.
2] Restart Windows Update service
Now open the Command Prompt or PowerShell and execute these commands to stop and start the Windows Update Service: If you are not comfortable with the command line option, you can do it from Services.msc. Look for a service with the name Windows Update. Double click on it to open its Properties box and then find the buttons to Stop and Start the Service.
3] Clear Sofware Distribution folder
SoftwareDistribution is one of the folders where Windows Update downloads all the files which should be installed. Sometimes existing or incomplete update files can cause a problem. Go to C:\Windows\SoftwareDistribution and delete everything inside this SoftwareDistribution folder
4] Reset catroot2 folder
Catroot and catroot2 are Windows operating system folders that are required for the Windows Update process. Windows uses this folder to store the signatures of the Windows Update package and helps in its installation. Deleting content from here is not straightforward. You need to stop the cryptsvc service, and then delete files inside catroot2. Once you complete all of these, restart the computer, and check for the update again. TIP: Our portable freeware FixWin allows you to reset this and most other Windows settings or functions with a single click.
Now that the folders have been reset, the update check should end, and if there is a download, it should begin.

